Open the Content Calendar from the dashboard.
Choose filters: content topics, duration, posts per week, and content type.
Click Generate Calendar to view your schedule.
Export the calendar if needed or start posting directly from Social Surfer.
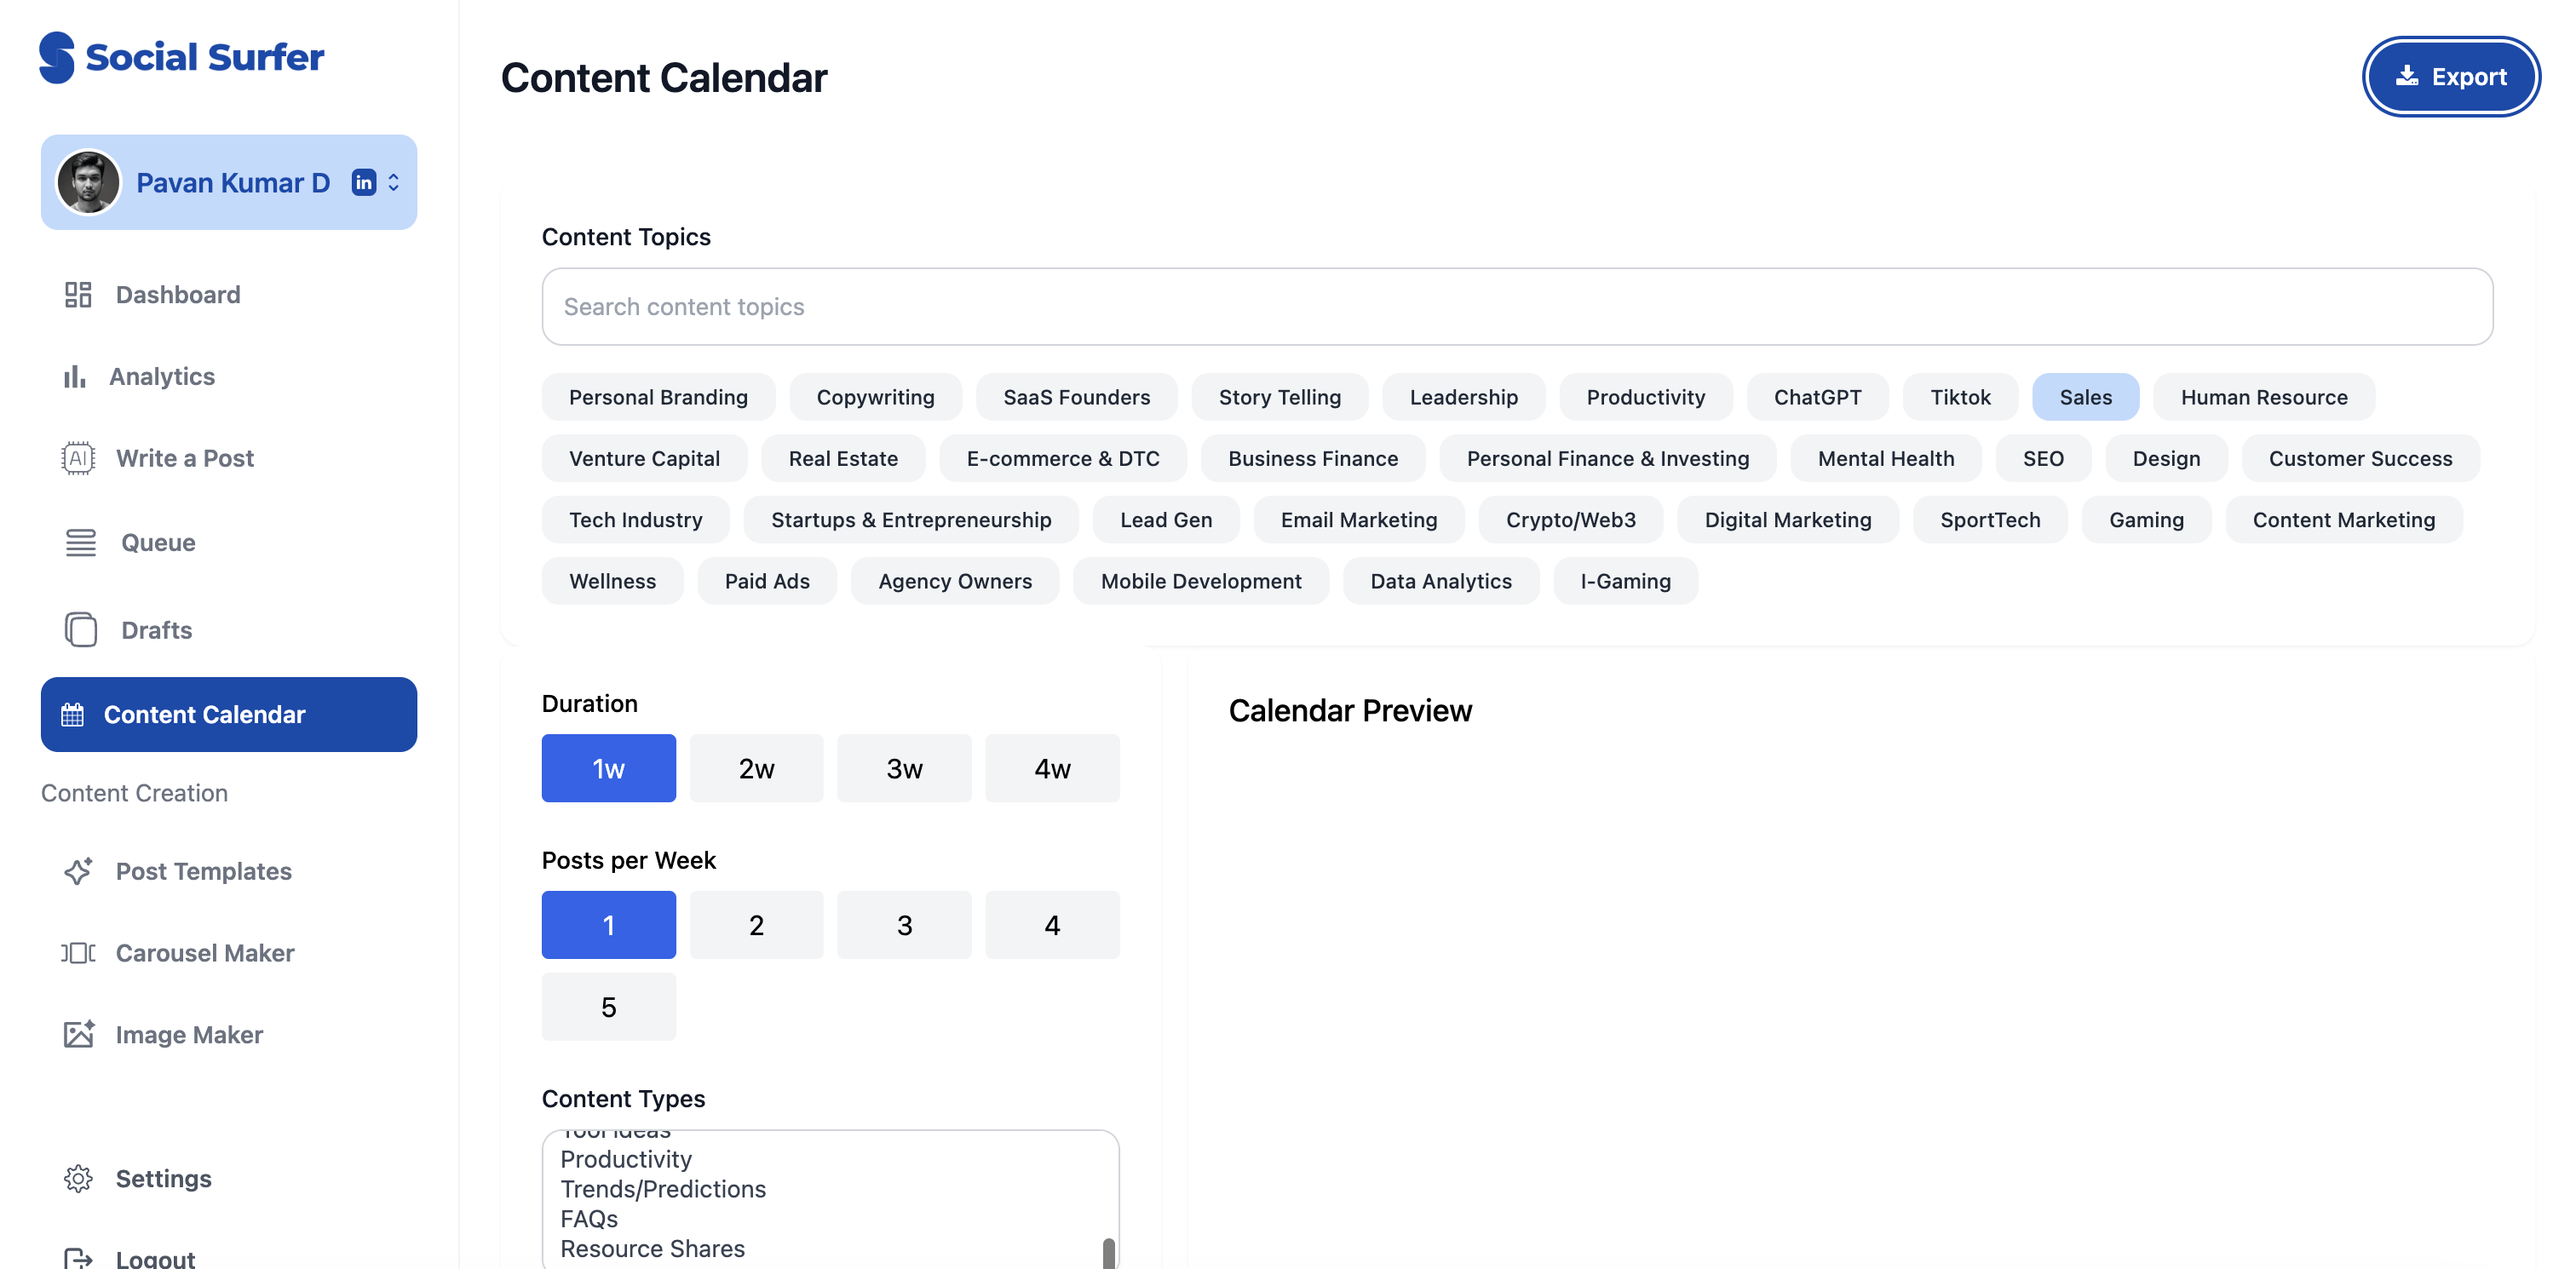
Choose from a variety of topics to align with your brand or audience interests.
Export your calendar as a file for offline access or sharing with your team.
View your scheduled posts in a clean calendar format.
Select durations ranging from 1 week to 4 weeks.
Customize the number of posts per week (1-5).
Select the type of content:
Content Ideas: Generate topic suggestions to inspire your posts.
Full Posts (Coming Soon): Get AI-generated, ready-to-post content.
After selecting your desired filters (e.g., duration, posts per week, topics, and types), click the Generate Calendar button to create your content calendar instantly.
The 'Content Calendar' ensures seamless planning and execution of your content strategy while saving time and effort.
