Social Surfer is a powerful LinkedIn content creation and automation tool that leverages AI to streamline your posting process. With the "Write a Post with AI" feature, you can easily create compelling LinkedIn posts, enhance them with rich formatting, and preview them across different devices before publishing.
This guide will walk you through how to use the Write a Post with AI feature, format your content, and schedule or publish your posts.
Before you begin using the AI writing tool, ensure you have:
A registered Social Surfer account and logged in.
LinkedIn account connected (required for direct publishing).
Step 1: Log In to Your Social Surfer Account
Open Social Surfer and log in with your credentials.
Step 2: Access the "Write a Post with AI" Feature
From your Social Surfer dashboard, go to the Content Creation section in the left-hand menu.
Click on Write with AI to open the post creation interface.
Step 3: Generate Your Post with AI
In the AI writing area, type a brief idea or topic for your LinkedIn post (e.g., "The Importance of Networking").
Press the Generate Post button to let the AI create your post.
Once your AI-generated content is ready, you can enhance it using the following formatting options:
Bold:
Highlight the text you want to bold and click the Bold button (B). This is perfect for emphasizing key phrases or words.
Italic:
Highlight the text you want to italicize and click the Italic button (I) for a softer emphasis.
Strikethrough:
Select the text you want to strike through and click the Strikethrough button (S). This is ideal for crossing out outdated information or showing changes.
Underline:
Highlight the text you want underlined and click the Underline button (U) to make it stand out.
Dotted Pointers & Number Pointers:
To create lists, click the Dotted Pointers or Number Pointers buttons. This will turn your content into bulleted or numbered lists.
Insert CTA (Call to Action):
Click the Insert CTA button to add a call to action to your post, such as “Learn More,” “Contact Us,” or “Sign Up Now.” Customize your CTA button text.
Insert Emojis:
Click the Insert Emojis button to add relevant emojis to your post. Emojis are great for increasing engagement and making your post more visually appealing.
Insert Images:
Click the Insert Images button to upload and embed an image in your post. You can select images from your computer or social media accounts.
Insert Carousel:
Use the Insert Carousel button to create a carousel of images that users can swipe through. This is ideal for showcasing multiple images in one post.
Content Box:
Add a Content Box to highlight important information or break up your text into sections for better readability.
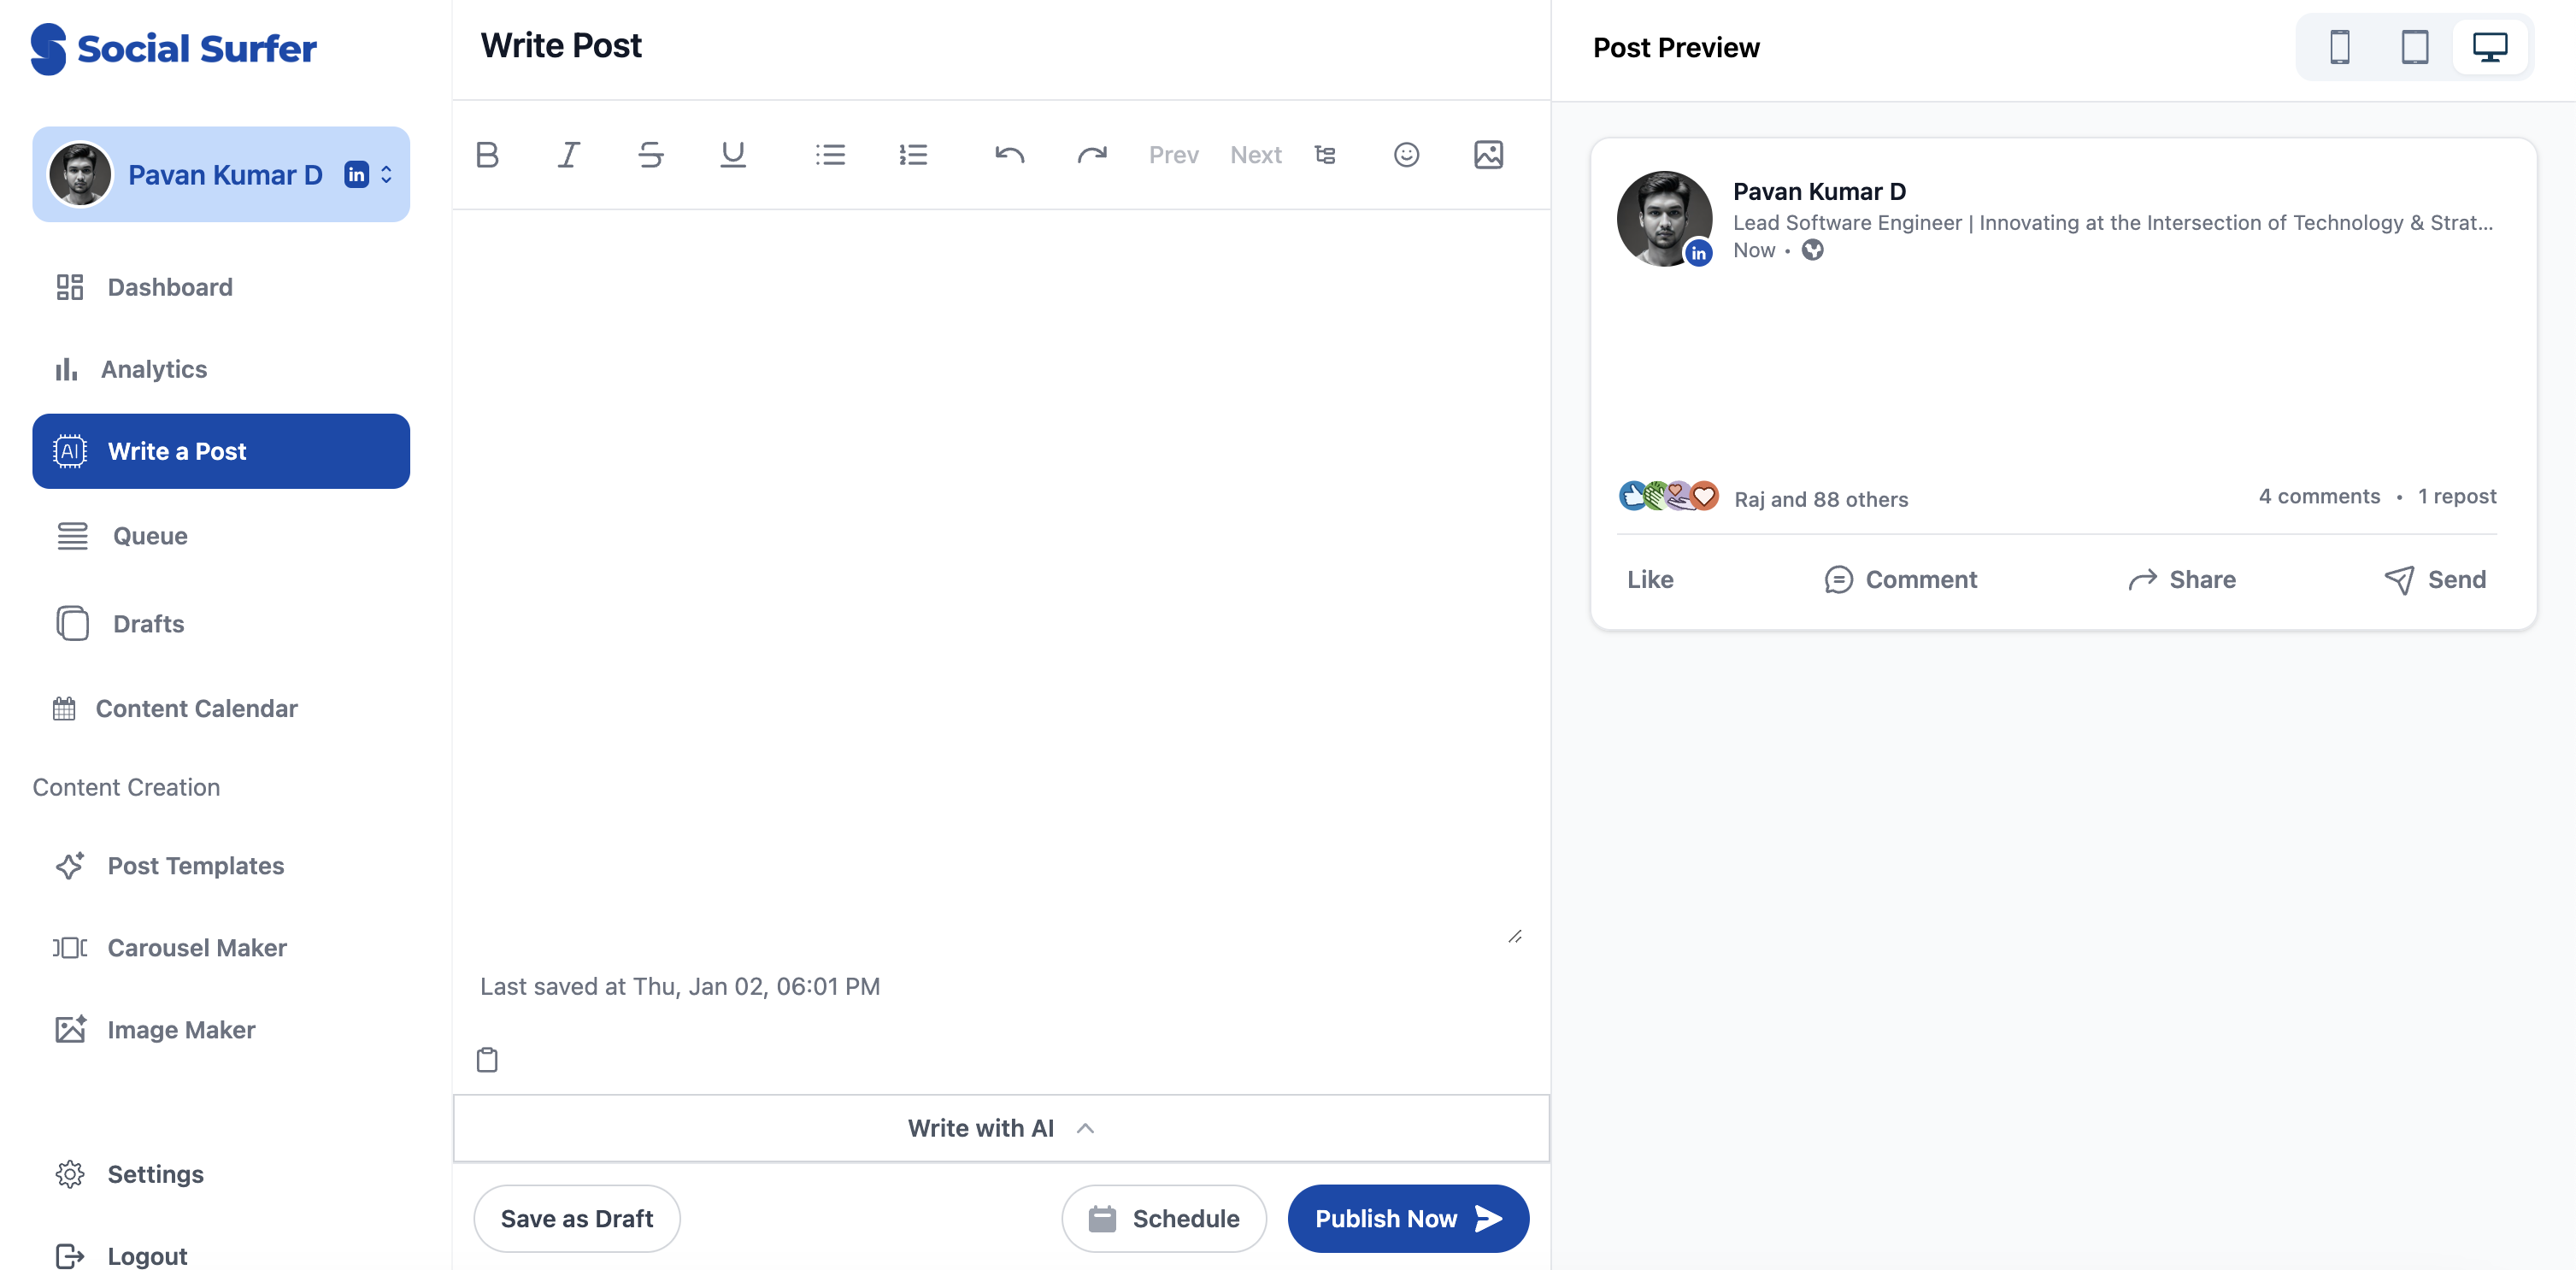
As you create and format your content, you can see how it will appear on different devices.
Mobile, Tablet & Desktop View:
On the right side of your screen, you’ll see a Post Preview area. Use the tabs to switch between mobile, tablet, and desktop views, ensuring your post looks great on all devices.
Once you're satisfied with your post, you have several options for finalizing it:
Save as Draft:
Click Save As Draft to save your post for later editing. You can come back to it at any time from your dashboard.
Schedule Post:
Click Schedule to choose a date and time for your post to be automatically published. Select the desired time zone and finalize the schedule.
Publish Now:
Click Publish Now to immediately post your content to LinkedIn. Make sure you're connected to your LinkedIn account for seamless publishing.
Q: The AI-generated content isn’t what I expected. What can I do?
A: Try refining your topic or providing a more detailed prompt to guide the AI. If necessary, you can manually edit the content after it’s generated.
Q: How do I adjust the text in the post after formatting?
A: Simply highlight the text and apply the necessary formatting options again. You can always undo any changes using the Undo button.
Q: The "Insert Image" button isn’t working. What should I do?
A: Ensure that the image format is supported (e.g., JPG, PNG). If the issue persists, try refreshing the page or clearing your browser cache.
Maximize Engagement with Emojis:
Emojis can significantly increase engagement on LinkedIn posts. Try using them strategically, such as in CTAs or to break up text.
Optimize Post Length:
AI-generated content is a great start, but be sure to adjust the length of your post to match LinkedIn's best practices. Short, punchy posts tend to perform better.
Now you’re ready to create stunning LinkedIn posts with the power of AI! By following these steps, you can easily craft engaging posts, enhance them with rich formatting, and share them across devices with a professional touch.
Explore more features in Social Surfer, like automated post scheduling, analytics, and AI-driven content recommendations.
Need more help? Reach out to our support team at Support.
Want to learn more about advanced content creation tips? Visit our blog or explore our help center for additional resources.
